What to Expect in a BLS Skills Assessment
Prepare for a BLS skills assessment with clear guidance on CPR, AED use, ventilation, teamwork, common errors, and confident course performance today.
A BLS skills assessment is not designed to test whether you can recite CPR steps from memory. It evaluates whether you can recognize a life-threatening emergency, begin effective care without unnecessary delay, and work within a team when seconds matter. For healthcare students, CNAs, medical assistants, LVNs, RNs, and other clinical staff, that distinction matters. Good BLS performance supports patient safety long before advanced interventions, medications, or a code team arrive.
The assessment can feel stressful because an instructor is watching each action closely. However, most missed steps are not caused by a lack of ability. They happen when learners rush, lose their sequence, fail to communicate, or have not practiced with the equipment. Knowing what the evaluator is looking for helps you prepare in a more focused way.
What a BLS Skills Assessment Measures
In an American Heart Association BLS course, the skills check is centered on high-quality CPR and prompt use of an AED. Your instructor evaluates how you respond to a simulated adult, child, or infant emergency based on the course format and learner role.
The core principle is simple: recognize cardiac arrest quickly, call for help, start effective compressions, provide appropriate ventilations, and use the AED as soon as it is available. Each action supports the next. A delayed activation of emergency response can slow the arrival of equipment and additional providers. Shallow compressions reduce blood flow. Long pauses in compressions can reduce the benefit of otherwise correct CPR.
The assessment also measures whether you can follow a reliable sequence under pressure. In a clinical setting, the environment may be noisy, crowded, and unpredictable. The course scenario is more controlled, but it still asks you to demonstrate organized decision-making.
The Skills Instructors Commonly Observe
Initial assessment and activation
You should begin by checking that the scene is safe, assessing responsiveness, and calling for help. For a healthcare provider assessment, this commonly includes directing someone to activate the emergency response system and retrieve the AED or emergency equipment.
You then assess breathing and pulse together, without taking longer than 10 seconds. Agonal gasps are not normal breathing. If the patient has no pulse or you are not certain a pulse is present within the assessment window, begin CPR. Clear verbalization helps the instructor see your clinical thought process and helps a real team understand what is happening.
High-quality chest compressions
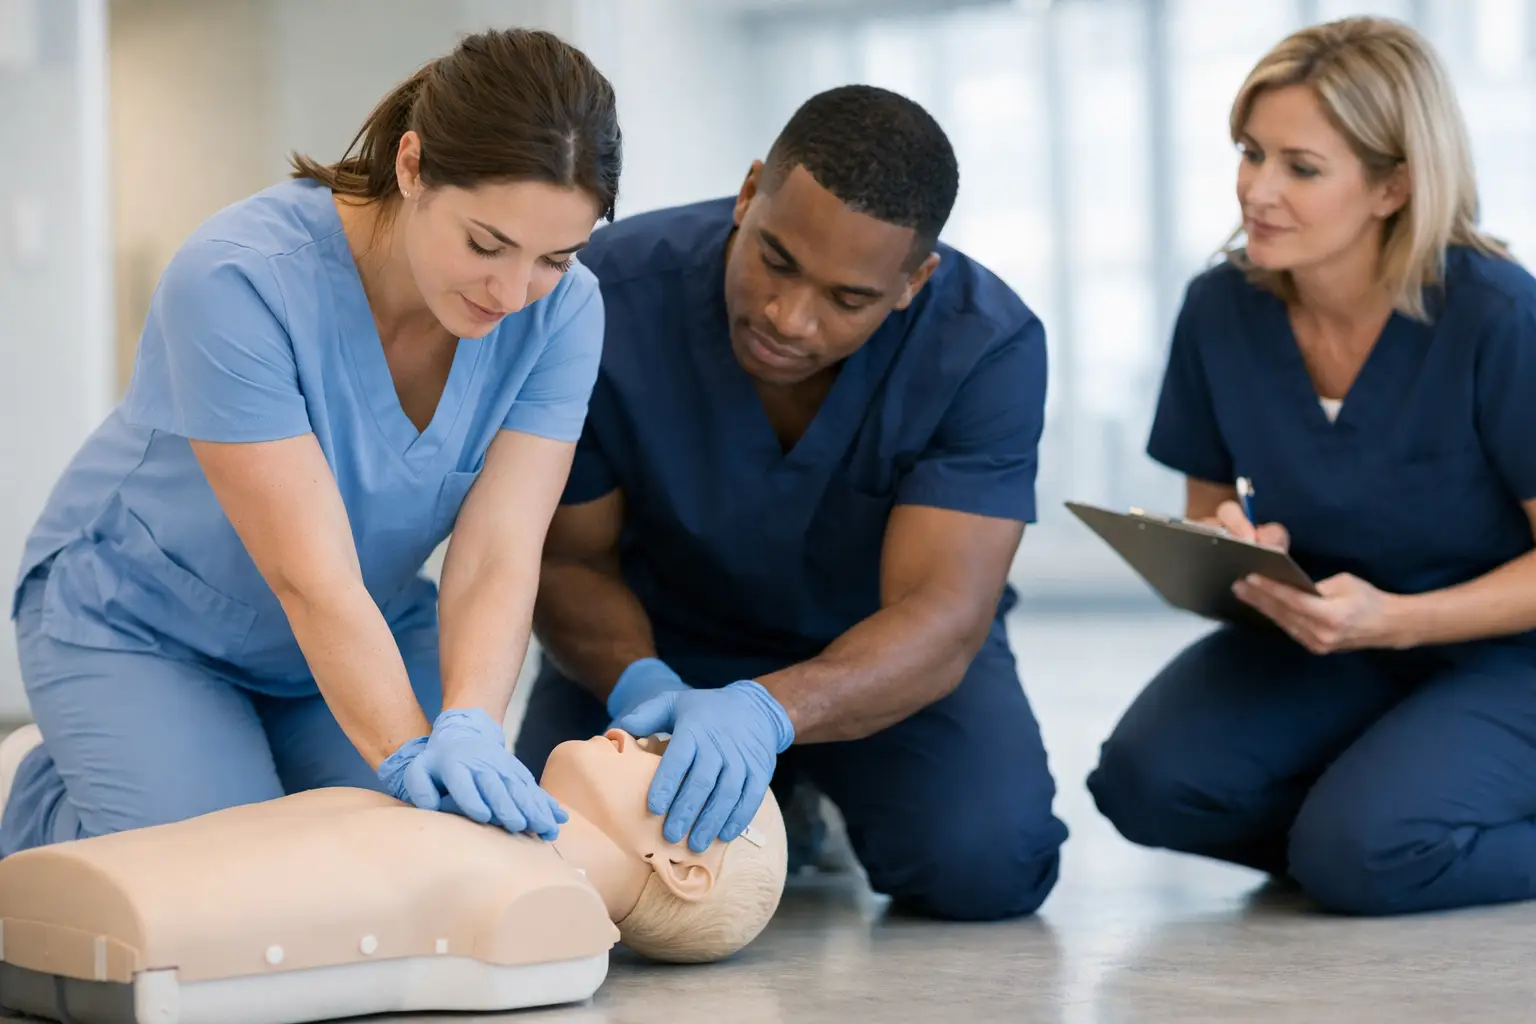
Compressions are the center of BLS. Instructors look for correct hand placement, appropriate depth, a rate of 100 to 120 compressions per minute, full chest recoil, and minimal interruptions.
For adults, compressions should be at least 2 inches deep but not more than 2.4 inches. For children, compress approximately one-third of the chest depth, about 2 inches. For infants, compress one-third of the chest depth, about 1.5 inches. These details are not simply exam requirements. Proper depth and recoil help create blood flow to the brain and heart.
A common problem is leaning on the chest between compressions. Even slight leaning prevents full recoil. Another is compressing too fast in an effort to look efficient. A rapid rate can make compressions too shallow and interfere with recoil. The goal is controlled, consistent performance, not hurried movement.
Ventilations and airway positioning
During single-rescuer adult CPR without an advanced airway, the standard compression-to-ventilation ratio is 30:2. With two rescuers, pediatric CPR uses a 15:2 ratio. Your instructor may ask you to demonstrate rescue breaths with a barrier device or bag-mask device, depending on the course and scenario.
Effective ventilation requires a visible chest rise without excessive volume or force. Over-ventilation can force air into the stomach, increase aspiration risk, and interfere with circulation. For an unresponsive patient without suspected trauma, use a head tilt-chin lift to open the airway. When trauma is suspected, the jaw-thrust maneuver may be preferred if it can be performed effectively without delaying needed ventilation.
Bag-mask ventilation takes practice. One person may struggle to maintain a good mask seal, especially when working alone. In a two-rescuer setting, one provider can hold the mask with both hands and maintain the airway while the second delivers breaths. This often produces a better seal and more reliable chest rise.
AED use with minimal interruption
The AED should be applied as soon as it arrives. Your assessment will typically include turning it on, exposing and drying the chest if needed, attaching pads in the correct position, and following the device prompts.
Everyone must remain clear while the AED analyzes the rhythm and when a shock is delivered. After a shock, resume CPR immediately. Do not pause to search for a pulse unless the AED prompts you to do so or the patient shows obvious signs of life.
Learners sometimes become so focused on pad placement that they stop compressions for too long. In a team, one rescuer should continue compressions while another prepares the AED whenever possible. The person operating the AED should communicate clearly: “Clear for analysis” and “Clear for shock.” Closed-loop communication reduces uncertainty and confirms that the team heard the instruction.
Why Team Communication Is Part of the Skill
A BLS assessment may include team dynamics because cardiac arrest care is rarely performed by one person for long. Strong teams assign tasks, speak clearly, and recognize when compression quality is declining.
If you are the team leader, you need to give concise directions and verify that they are completed. If you are performing compressions, state when you are becoming fatigued and prepare for a switch before quality drops. Rescuers should generally rotate the compressor role about every two minutes, ideally during a rhythm analysis or other planned pause.
This is especially relevant for staff in hospitals, clinics, long-term care, and outpatient settings. Emergency response teams may have different roles and equipment, but the foundation remains the same: coordinated action, high-quality CPR, and timely defibrillation when indicated.
Common Reasons Learners Need More Practice
Most skills assessment errors are correctable with deliberate practice. Learners may hesitate after finding an unresponsive patient, forget to assign someone to get the AED, or take too long checking breathing and pulse. Others know the sequence but struggle with compression depth, recoil, or bag-mask technique.
A few areas deserve extra attention before class:
- Practice maintaining a steady compression rate while allowing full recoil.
- Review the adult, child, and infant differences rather than assuming one technique fits every patient.
- Rehearse the AED sequence until you can continue CPR while preparing the device.
- Say key actions out loud, including requests for help, compressor switches, and safety checks.
Do not treat the assessment as a performance to memorize word for word. If an instructor changes the scenario slightly, rigid memorization can lead to confusion. Instead, understand the purpose of each step. When you know why you are checking a pulse, applying pads, or minimizing pauses, you can adapt while still following the correct BLS sequence.
How to Prepare Before Your Course
Arrive ready to participate physically. CPR requires kneeling, pressing on a manikin, handling an AED trainer, and working with a partner. Wear comfortable clothing and plan to practice repeatedly. If you have a physical limitation that may affect compressions or floor-level practice, notify the training center before class so the instructor can discuss available options.
Complete any required online coursework before a blended learning skills session. HeartCode BLS participants should bring proof of their completed online portion and be prepared to apply those concepts in person. The online module builds knowledge, but the hands-on session confirms that you can perform the skills safely and correctly.
For students entering healthcare through a CNA or medical assisting pathway, BLS training reinforces habits that carry into clinical practice: assessing the patient, recognizing a change in condition, calling for assistance, using PPE appropriately, and communicating clearly. A BLS card does not replace facility-specific emergency procedures, but it gives you a dependable starting point when a patient collapses or becomes unresponsive.
Choosing Training That Builds Real Confidence
A quick certification process is not always the same as meaningful skills practice. If you have not performed CPR recently, are returning to patient care, or expect to work in a high-acuity setting, choose a course that gives you time on the manikin and direct instructor feedback.
Central Valley Medical Education offers hands-on BLS training for healthcare learners and professionals throughout the Central Valley. The right class depends on your employer, program requirements, current certification status, and whether you need an initial course or renewal. Not sure which course you need? Call or text CVME at 559-765-0306 and we’ll help you
The best preparation is not trying to appear perfect on the first attempt. It is practicing until your actions are calm, deliberate, and useful to the patient in front of you.


